Rental listing photos that actually get your phone ringing
25 August 2026
11 min read
Unlock the potential of your rental listing photos with bright, honest images that drive inquiries and attract qualified tenants.
Bright, honest images that show every key room, topped with a strong hero thumbnail, are the single biggest lever you have for turning listing views into enquiries. Propertymark sets the standard for fair representation, and platforms like Hauzed reward listings that follow it with better-qualified tenant interest. Get the photos right and you shorten the void period; get them wrong and even a great property gets scrolled past.
TL;DR:
Using natural light during the two to three hours around sunrise or sunset produces the most appealing property photos.
Keep the camera at chest height and avoid ultra-wide lenses to prevent distortion and misrepresentation of room sizes.
Capture a broad set of images in a logical order, starting with a bright exterior or main room thumbnail, and include multiple angles of each key space.
Declutter, clean, and add simple neutral styling touches prior to shooting to enhance room appeal without making staging costly or complicated.
Reusing old photos is only reliable if the property's condition, furnishings, and decor remain unchanged since the original pictures were taken.
Light is the difference between a listing that gets clicked and one that gets skipped. Shoot in the hour after sunrise or a few hours before sunset when the light is soft, and avoid mixing daylight streaming through a window with warm indoor bulbs. That colour clash is one of the most common reasons phone photos look muddy. Turn off interior lights during the day and let window light do the work as your main source; if a room feels dark, open every curtain and blind before you shoot rather than relying on flash.
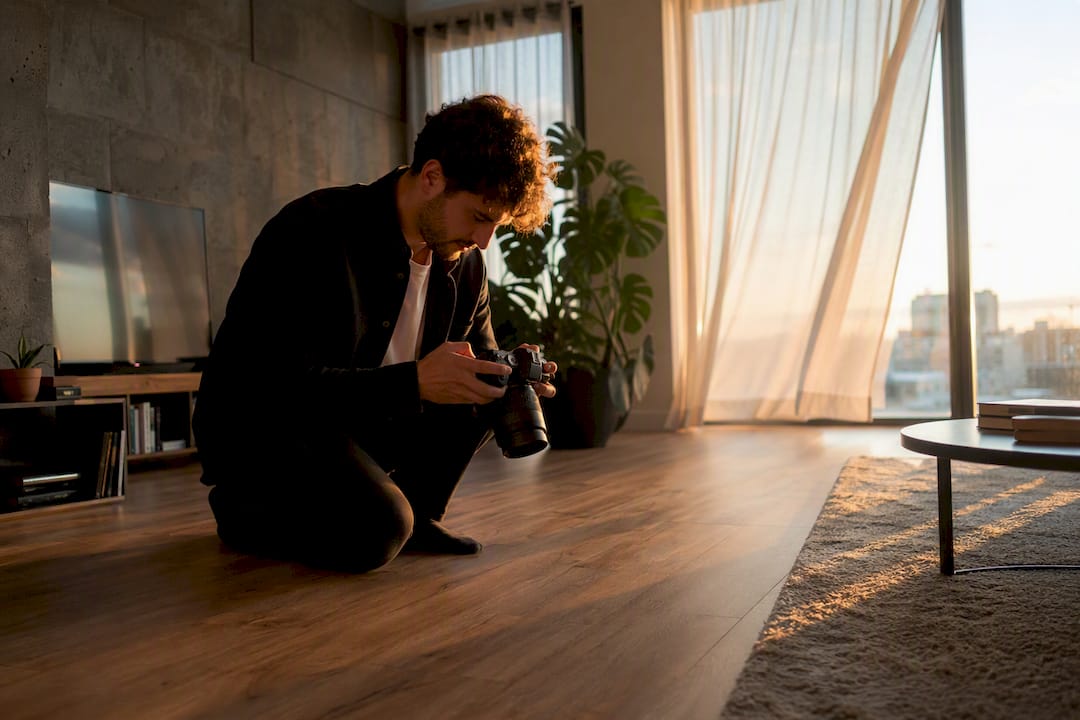
Composition matters just as much as light. Hold the camera at roughly chest height, around 1.2 metres, rather than shooting up from waist level or down from standing tall. This keeps proportions natural rather than making a small room look like a wide, distorted box. Keep horizons level and resist the pull of ultra-wide lenses, which stretch corners and can misrepresent the actual size of a room.
Shoot within two to three hours of sunrise or sunset for the softest light
Keep the camera at chest height for natural proportions
Choose your brightest, most inviting shot as the thumbnail, not the first one you happened to take
Pro Tip:Take your hero shot last, after you've reviewed every other room. You'll often find your best image was one you didn't expect.
Do you need a camera or will a smartphone do?
Most landlords can produce portal-ready rental listing photos with a modern smartphone, provided you use it properly. Stick to the main lens rather than the ultra-wide, switch off any beauty or scene filters, and enable HDR so bright windows and darker corners both stay visible in the same frame. Lock exposure by tapping on a mid-tone wall before you shoot, and always save at native resolution rather than a compressed sharing size.
If you're working with a proper camera, widen the aperture slightly to keep more of the room in focus, keep ISO as low as the light allows to avoid grain, and shoot from a tripod or steadied surface to eliminate blur. A manual white balance setting, or at least a preset matched to your light source, stops the yellow or blue colour cast that ruins otherwise good shots.
Smartphone: main lens, filters off, HDR on, exposure locked, full resolution
Camera: wider aperture, low ISO, tripod, manual or preset white balance
When should you hire a professional instead? If you're in a competitive rental market, letting at a premium rent, or managing multiple units where consistency matters, a professional shoot commonly delivers a series of edited images within a day or two, which often pays for itself in a shorter void period. For a straightforward, well-lit property at standard rent, careful DIY work is usually enough.
Which rooms and shots does a complete listing need?
A complete set of property listing images should follow a logical order, roughly mirroring how a tenant would walk through the property in person.
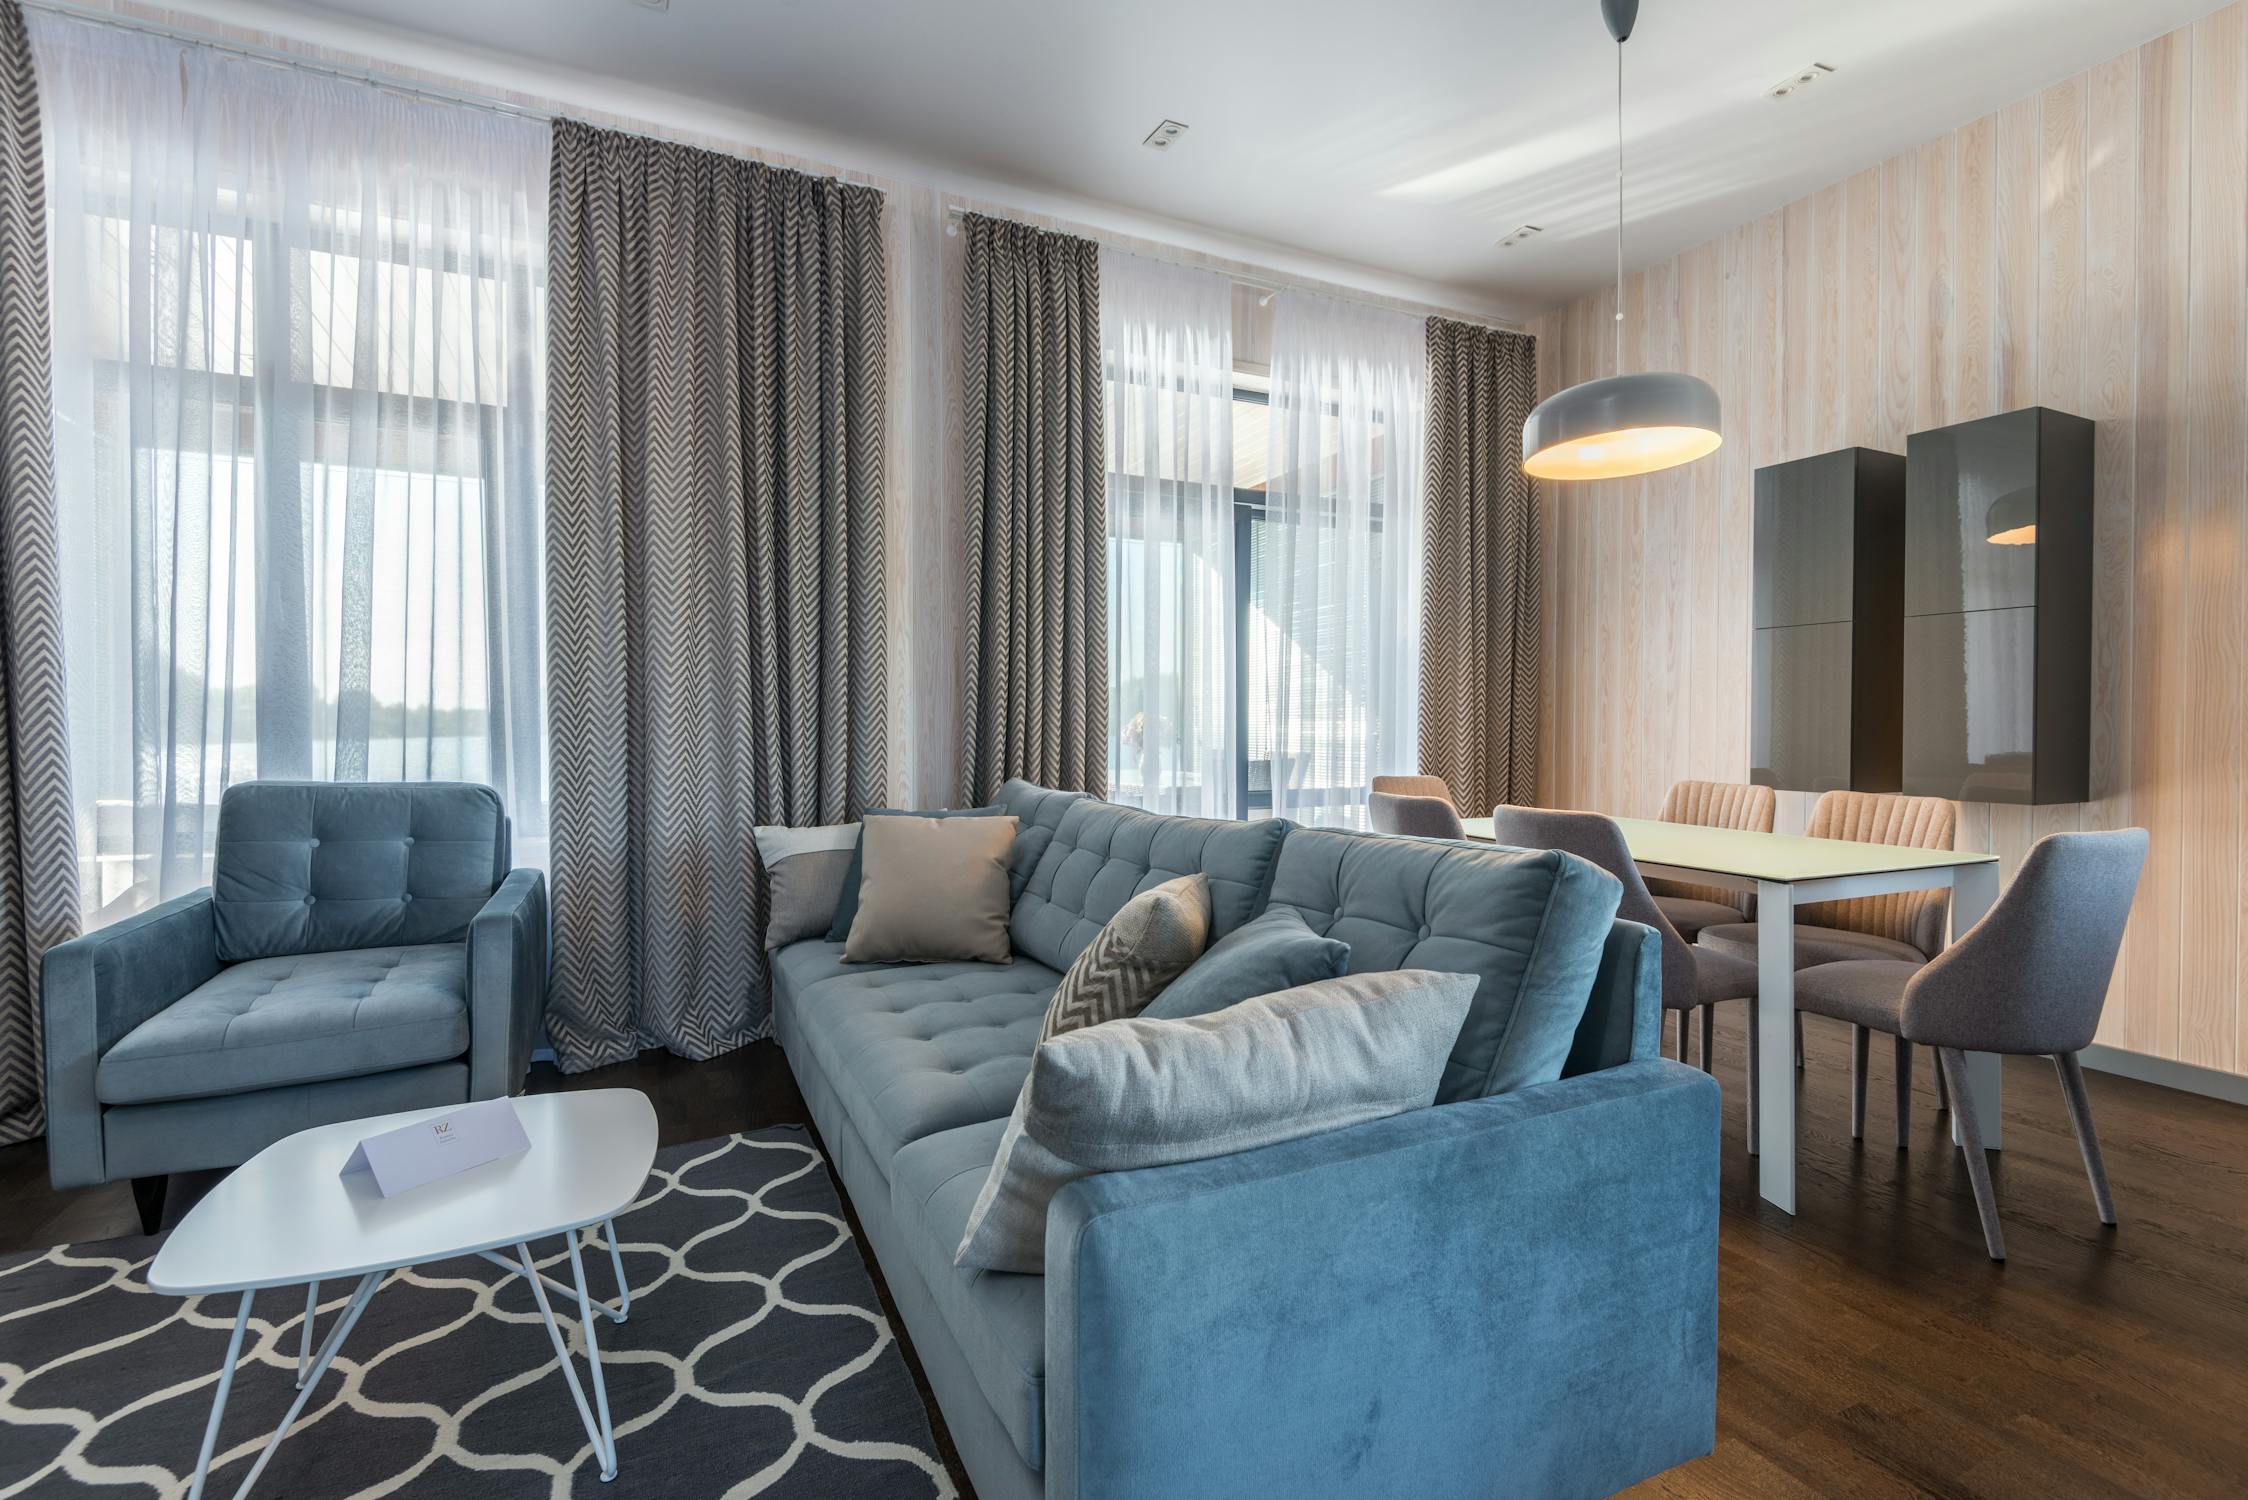
Hero exterior or bright living/kitchen shot — your thumbnail candidate, shot at its most flattering angle.
Living area — two angles minimum, ideally from opposite corners to show the full footprint.
Kitchen — one wide shot showing worktop space, plus a close-up of any updated appliances.
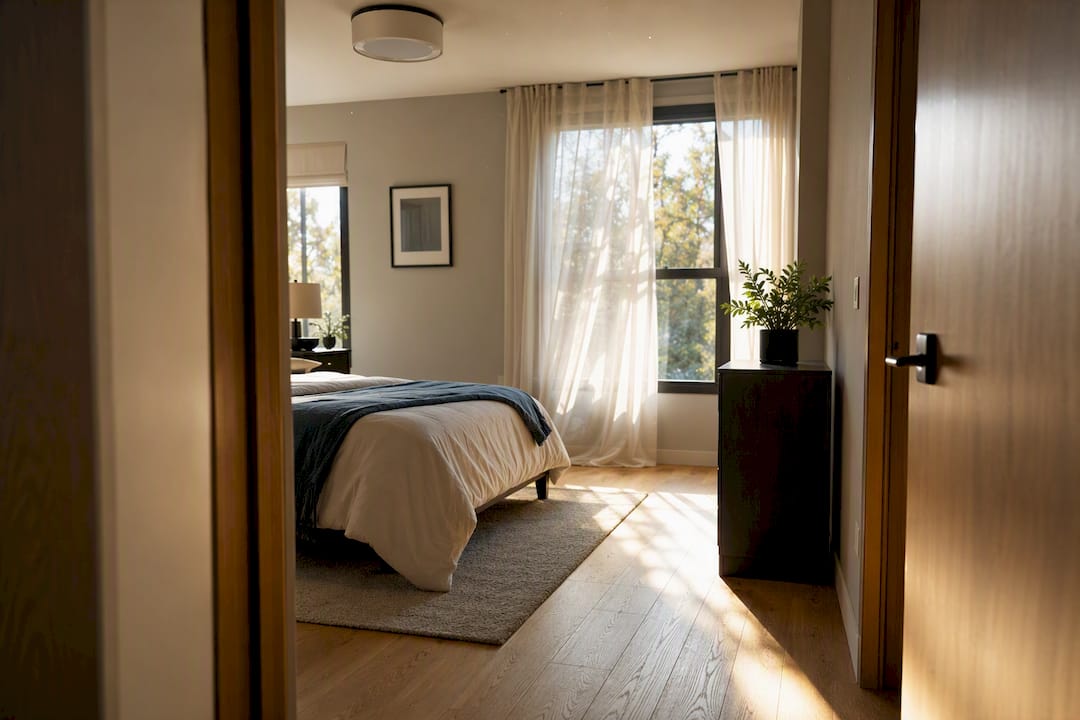
Every bedroom — at least one shot per room, taken from the doorway to show scale and layout.
Main bathroom — a straight-on shot showing the full suite, avoiding tight crops that hide size.
Entrance and hallway — often skipped, but it sets first impressions and shows flow between rooms.
Beyond the essentials, add optional shots where they genuinely help a decision: a garden or outdoor space, dedicated storage, or shared amenity areas like a communal laundry room or bike store. Include a street view only if the exterior is genuinely attractive; a dull car park shot does nothing for click-through.
Aim for multiple images per main room and at least one per smaller bedroom to comprehensively cover a typical two or three-bedroom property. Shoot from doorways and room corners rather than the centre. Standing in a doorway captures depth and scale far better than a straight-on shot from the middle of the floor, which flattens the sense of space that tenants are trying to judge.
How do you stage a rental before the shoot?
Staging doesn't mean spending money on furniture hire. It means clearing the clutter that distracts from the property itself. Declutter every surface, worktop, and windowsill; wipe down kitchens and bathrooms until they genuinely shine; and remove personal photos, post, or anything identifiable before you pick up the camera.
A little neutral styling goes a long way: a folded towel, a plant, a bowl of fruit on the counter. These small, low-cost touches make a room feel lived-in without looking staged. Kitchens and bathrooms tend to influence tenant decisions most, so spend your prep time there before anywhere else.
Declutter surfaces, worktops, and windowsills
Clean kitchens and bathrooms until they visibly shine
Add one or two neutral styling touches, not a full stage set
Open every curtain and turn off mismatched bulbs before shooting
If tenants are still living in the property, give proper notice, respect their privacy, and never photograph personal documents, mail, or belongings left in shot. A quick tidy-round conversation beforehand avoids awkwardness for everyone.
Pro Tip:Ask current tenants to clear kitchen counters and bathroom shelves the night before. It's a small ask that makes a huge difference to how the finished photos look.
How should you edit and export listing photos?
Editing should correct what the camera got wrong, not invent features that don't exist. Straighten crooked verticals, blend exposure so a bright window doesn't blow out to white, and correct colour casts from mixed lighting. Never remove fixed features like a boiler, meter box, or radiator, and avoid heavy airbrushing that makes a tired kitchen look brand new.
For export, save as JPEG at a resolution around 2,000 pixels on the longest edge, which balances sharpness with fast loading. Most portals prefer a landscape or near-square aspect ratio and cap file sizes, so aim for under 2MB per image unless told otherwise. Larger files load slowly on mobile, and most portal browsing happens on a phone screen where the thumbnail decides everything within seconds.
Export as JPEG, roughly 2,000px on the longest edge
Keep file size under 2MB per image where possible
Use a free compressor tool if your camera's originals are too large
Preview every photo as a thumbnail on your own phone before uploading
Before you publish, open your draft listing on your phone exactly as a tenant would see it. If a thumbnail looks dark or cluttered at that size, fix it before it goes live.
What photo practices should landlords avoid?
Cropping out a damp patch, a boarded window, or a missing appliance isn't clever editing, it's misrepresentation, and it invites complaints once a tenant views in person.
Photographs should fairly represent the property. Where a wide-angle lens has been used, this should be captioned so viewers understand the image may not reflect true proportions.
That's the substance of Propertymark's guidance on property photography, and it's a sound baseline for any landlord publishing photos directly.
Never crop out fixed features like meters, boilers, or damage
Caption any shot taken with a wide-angle lens
Avoid airbrushing that removes permanent wear or issues
Keep angles consistent with how a viewer will actually experience the room
One practical habit worth adopting: keep your original, unedited photos with their EXIF timestamp and location data intact. If a dispute ever arises over the property's condition at handover, a timestamped original is far more useful than a heavily edited copy, though it's not a substitute for proper documentation or legal advice.
How can landlords publish listings quickly without losing quality?
Speed and quality aren't opposites if you build a repeatable process. Once your shot list is planned, a full property can be shot, edited, and uploaded within a day or two.
Shoot in a fixed order (exterior, living, kitchen, bedrooms, bathroom, hallway) so nothing gets missed.
Batch-edit using the same preset across every photo for consistent colour and brightness.
Rename files by room before uploading, so ordering on the portal matches the walk-through.
Export at your chosen resolution and file size, then upload directly.
Reuse older photos only if nothing has changed, no renovation, no new furnishings, no fresh coat of paint. Anything altered needs a fresh shot. Archive your originals with EXIF data intact; it protects you and speeds up future re-listings.
Why do honest, high-quality photos matter this much?
The evidence backs this up plainly. A controlled experiment testing furnished, professionally shot images against phone-shot equivalents found the professionally shot, furnished version generated substantially more enquiries than the same property shot casually. That's not a marginal gain, it's the difference between a listing tenants scroll past and one they act on.
Propertymark's fair representation guidance exists precisely because misleading photos generate wasted viewings and damaged trust, for landlords and tenants alike. On Hauzed, that trust principle runs both directions: identity verification and a verified rental listing process mean the tenants replying to your honest photos are more likely to be serious, reducing the time you spend filtering low-quality enquiries.
Fair representation reduces wasted viewings and post-visit complaints
Verified tenant profiles mean the interest your photos generate is easier to qualify
Three things to do with your next listing
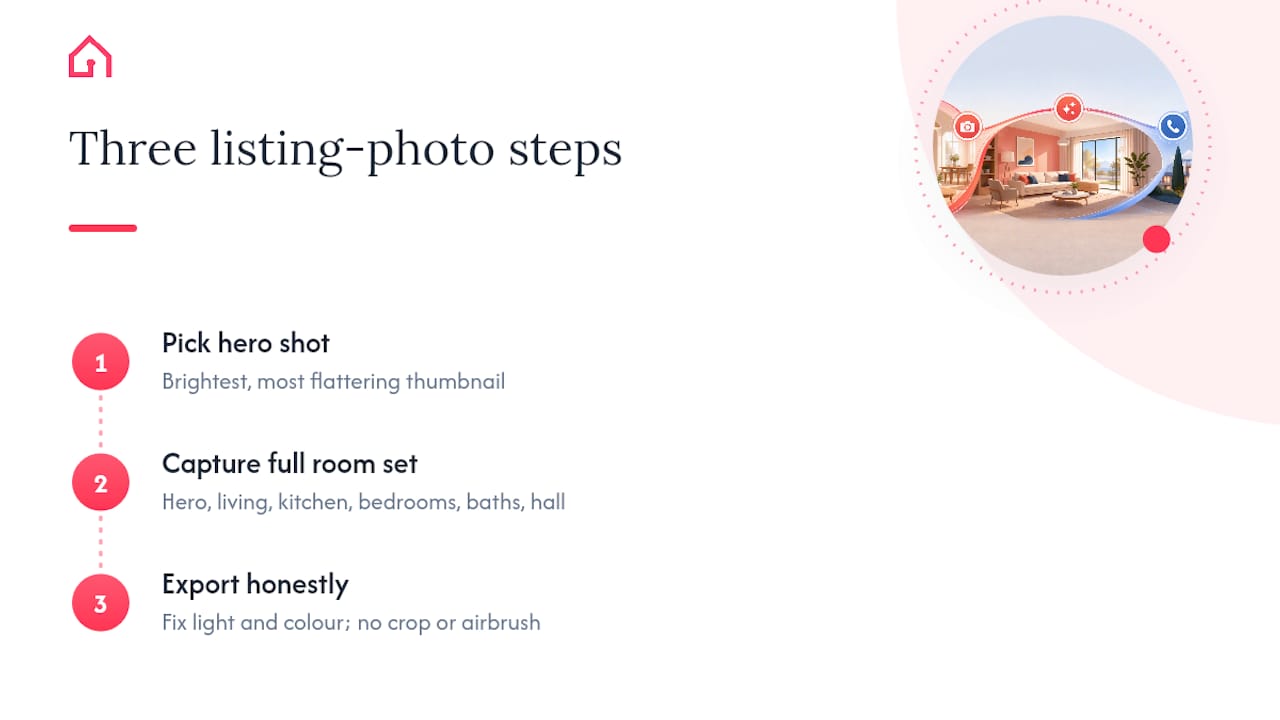
Start with the hero shot. Pick your brightest, most flattering image and make it your thumbnail, not whatever came first on the memory card. Then capture the full room set in order, hero, living, kitchen, every bedroom, bathroom, hallway, so nothing is left for a tenant to discover only at viewing. Finally, export honestly: correct the light and colour, but never crop out a fixed feature or airbrush away a real flaw.
If you want to see how better presentation connects to better enquiries in practice, our guide on posting a room rental listing effectively walks through the wider listing beyond just the photos, and our piece on spotting reused or scam photos is worth a read if you've ever wondered what tenants are checking on their end.
Try this checklist on your next vacant property. You'll likely notice the difference in enquiry quality within the first week, and Hauzed is built to help you manage that interest once it starts arriving.
Aim for fourteen to twenty images for a typical two or three-bedroom property, covering every main room with two to three angles each and a single strong shot per smaller bedroom.
What's the best time of day to photograph a rental?
Shoot within two to three hours of sunrise or sunset when natural light is softest, and avoid photographing with mixed daylight and interior bulbs switched on at the same time.
Can I use a wide-angle lens for small rooms?
You can, but Propertymark's guidance recommends captioning any image taken with a wide-angle lens so viewers understand the proportions may not reflect the true room size.
Is it worth hiring a professional photographer?
For competitive markets or premium rents, yes. Professional shoots commonly deliver 10 to 15 edited images within 24 to 48 hours and can shorten void periods enough to cover the cost.
Can I reuse old rental photos for a new listing?
Only if nothing in the property has changed. Fresh renovations, new furnishings, or redecoration all require new photos to avoid misrepresenting the current condition.